With so many technology platforms available and a multitude of sensors and use cases for Internet of Things Technology, the question is, where do you start? The obvious answer is, at the beginning! In this case, we’ll start with an IOT Dashboard of sorts with an open source backbone and then add different platforms with different sensors and applications for each. The goal is to have the dashboard live and viewable from this website as it progresses. First out of the gate, the Arduino IOT Cloud will be used since there are many powerful and small form factor boards to start from.
First Up: Arduino IOT Cloud
It can be a bit overwhelming when starting to research the possibilities of connecting to the cloud. The Internet of Things possibilities are endless, yet we have settled on a path believed to be easy to follow, easy to execute yet challenging and fun as well. Two different IOT Cloud Services will be experimented with. First up, will be the Arduino Cloud, followed by the Amazon IOT Core. With both, we will be able to connect both Arduino based devices, and Linux based devices, including the Beaglebone and Raspberry PI.
Most electronic hobbyist are familiar with the entry level Arduino boards and have probably lit up an LED or printed out HELLO WORLD via an RS-232 port at some point with one. Interestingly, if you haven’t explored the full offering of late, you will be shocked to see what they now offer. For this endeavor, simplicity of getting started is important. Arduino offers this, yet they offer a powerful set of small micro-controller based hardware, capable of a lot.
Within 3 Hours:
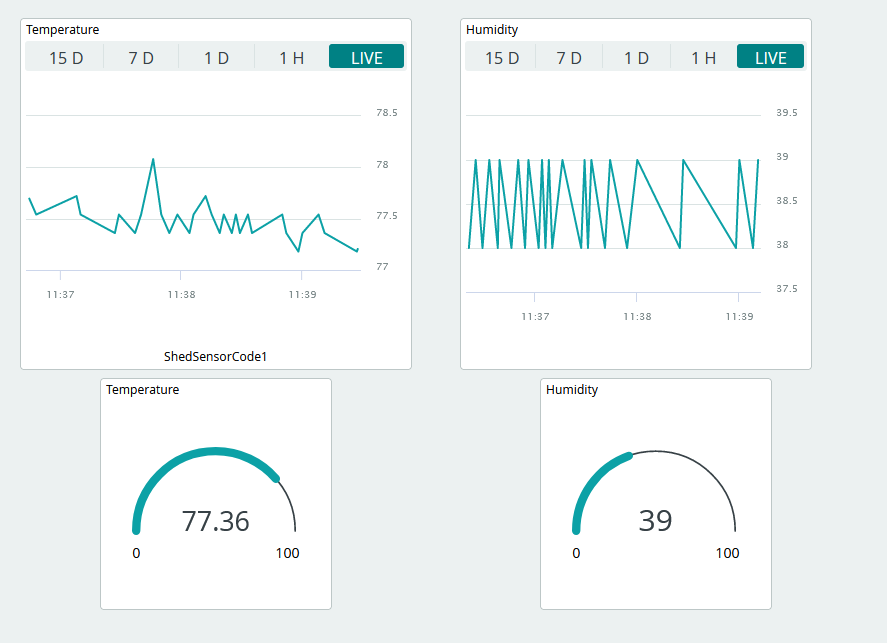
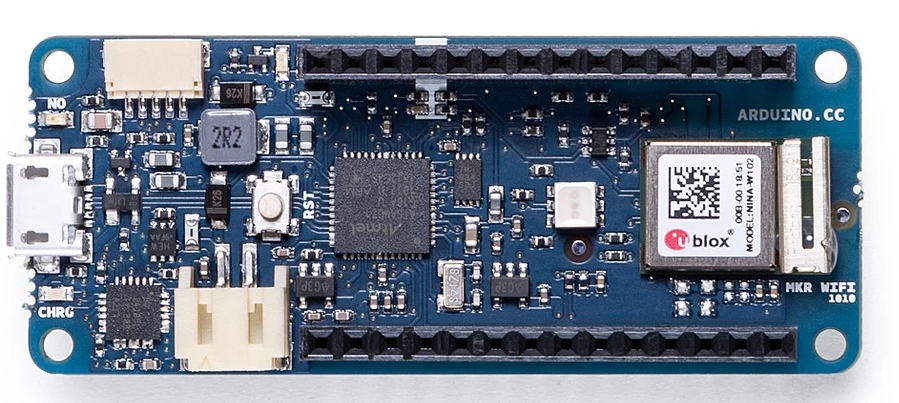
OK, some background first. It took many hours of research to settle on the “what” and “how” for this first Internet of Things Technology experiment. The WHAT turned out to be a simple Temperature and Humidity Measurement and the HOW was settled on the Arduino MKR 1010 board, Grove Compatible Extender Carrier board along with a Grove Temperature/Humidity Sensor board. Its also important to mention this author is well versed in commercial/industrial embedded product development, in both hardware and software. Consequently, both initial hardware setup and configuration, along with software coding, did not require a learning curve. What did though, was understanding IOT Dashboard basics and more specifically, the Arduino IOT Cloud. With this understanding, a simple Temperature/Humidity Sensor device was setup and coded and up and running within approximately 3 hours. Here are a few screenshots.


Just the beginning: the above is really just the start of this and as each element of the project is complete, there will be a dedicated page detailing how and what to procure, how to setup, freely downloadable source code and more. For the above Arduino Connection, several more features are in the process of being added to it. Watch for this post to get updated with a LINK HERE for the setup page when ready. After the Arduino Connection / Arduino IOT Cloud, we will work to connect a Beaglebone Linux board to the same cloud. Stay tuned for more!

